4 Creative Marketing Agency Logo Ideas You Need to See
Posted on June 06, 2024 by Logo Design Tips and Tricks
Logos play a vital role in boosting brand visibility and awareness. Seventy-five percent of U.S. consumers can identify a brand by its logo. Following logo design trends can help you keep up with competitors, but it’s best to find a timeless design to maximize your branding strategy.
Choosing a marketing agency logo requires patience and creativity, and drawing inspiration from top agency logos can help you choose the right one. You can combine them with branding tips to gain more authority in your industry.
Finding that inspiration is challenging, but informative resources are a step toward sustainable success. Continue reading to explore the top agency logos today!
1. SocialLeaf Marketing
SocialLeaf Marketing uses a creative logo featuring an organic motif. The logo is clever because the best social media content comes from organic sources.
The logo combines the marketing company’s name with beautiful green leaves. The font is futuristic, but the leaves offer a classic and natural look to provide contrast. Due to the natural elements and symbolism it captures, you can draw inspiration from this logo.
It’s worth noting that many brands use leaves, flowers, and trees in their logos. Find ways to make yours stand apart from the rest for the best results.
2. The Spark Group
Not all creative logo ideas involve visuals to capture the eye and generate interest. The Spark Group uses a simple acronym with a unique but classic font to reach its target audience and gain more authority.
The font paired with whitespace provides a youthful and fun energy. It’s an excellent option for a marketing agency logo, though you’ll need to ensure your acronym doesn’t represent an already successful brand like this reseller SEO company.
3. JumpFly
JumpFly’s logo immediately stands out because it breaks the mold with its use of color. The standard rule of thumb is to avoid using more than two colors when designing top agency logos.
JumpFly combines black, yellow, and maroon lines to make the logo stand out. The lines are within a circle against a white backdrop to make them pop.
4. Archetype Copywriting
Some of the best logos give the target audience a firm idea of what the service offers without further research. Archetype Copywriting is a fantastic option when seeking marketing logo inspiration.
The most prominent feature of the logo is a blue fountain pen. You can draw from the logo that the agency offers writing services. Consider choosing a logo that provides a hint or preview of the services you can offer to generate interest and leads.
Create the Perfect Marketing Agency Logo Today
A marketing agency logo should convey an idea while drawing attention and creating recognition within the target audience. JumpFly’s logo is excellent because it uses color to stand out.
Archetype Copywriting uses a fountain pen to clue the audience into its services. SocialLeaf Marketing uses a clever motif to create symbolism and demonstrate the organic nature of social media.
You don’t need to be a professional artist to create a stunning logo for your brand. Check out our blog content for tips and inspiration for designing your company’s logo today!
Exploring the Artistry of Precision Metal Toys: The Intricate Design and Detail
Posted on June 06, 2024 by Logo Design Tips and Tricks
The art of making metal toys with precision has been around for centuries. It captivates the hearts and minds of both kids and adults.
They range from small models of cars and trains to tiny figurines and puzzles. Many people love to collect these miniatures. But what exactly goes into the meticulous craft behind these metal toys?
In this exploration, we will delve into the world of precision metal toy making. Continue reading and uncover the processes and techniques that make these treasures so special.
The History of Precision Metal Toys
The journey of precision metal toys begins in the late 19th and early 20th centuries. During this period, manufacturers began transitioning from wooden and cast iron to tin toys and other metals. Metal allowed for complex designs and longer-lasting products that made the toys both beautiful and durable.
Companies like Lehmann, Märklin, and Bing were trailblazers in the toy industry, raising the bar for quality and attention to detail. They created a variety of toys such as trains, cars, robots and a spinning top, each carefully made to spark joy and wonder in both kids and grown-ups.
The Craftsmanship Behind Precision Metal Toys
Making metal toys requires a complex process. It needs skilled artisans and high-tech tools. The journey from concept to completion encompasses several crucial stages.
Design and Prototyping
The process starts with careful design planning. Artists and engineers work together to create detailed blueprints for the toy. They use modern technology like CAD software to turn these blueprints into 3D prototypes. This step is crucial in perfecting every detail of the toy before it goes into production.
Material Selection
Choosing the right materials is vital for achieving the desired quality and longevity. Tin and other metals are favored for their durability and ability to be molded into intricate shapes. These materials provide a pleasing weight and feel, making the toy more enjoyable.
Manufacturing and Assembly
The manufacturing process involves stamping and cutting metal sheets to create individual components. Skilled craftsmen then assemble these pieces. They ensure that each part fits together perfectly.
The precision involved in this stage cannot be overstated. Even minor errors can affect the toy’s functionality and aesthetic appeal.
Finishing Touches
Once assembled, the toys undergo a series of finishing touches. This includes painting, detailing, and adding any extra features such as:
These final steps bring the toy to life, showcasing the intricate designs and fine details that define precision metal toys.
Exploring Popular Precision Metal Toys
The world of precision metal toys offers a diverse array of options, each with its unique charm and appeal. Here are some popular categories that continue to captivate enthusiasts:
Spinning Tops
The spinning top is a timeless toy that has fascinated people for centuries. Precision metal spinning tops are a delight to behold, with their perfect balance, silky smooth spin, and delicate patterns. They offer a soothing and captivating experience that people of all ages love, from collectors to those who crave sensory fun.
Wind-Up Toys
Wind-up toys are a classic example of mechanical ingenuity. These toys feature intricate clockwork mechanisms that bring them to life with a simple twist of a key. From robots to animals, wind-up toys come in various forms, each offering a delightful display of motion and creativity.
Vehicles and Trains
Miniature vehicles and trains have always been a favorite among toy enthusiasts. Precision metal versions of these toys are known for their realistic details and smooth operation. Whether it’s a vintage car or a steam locomotive, these toys evoke a sense of nostalgia and admiration for the engineering feats of the past.
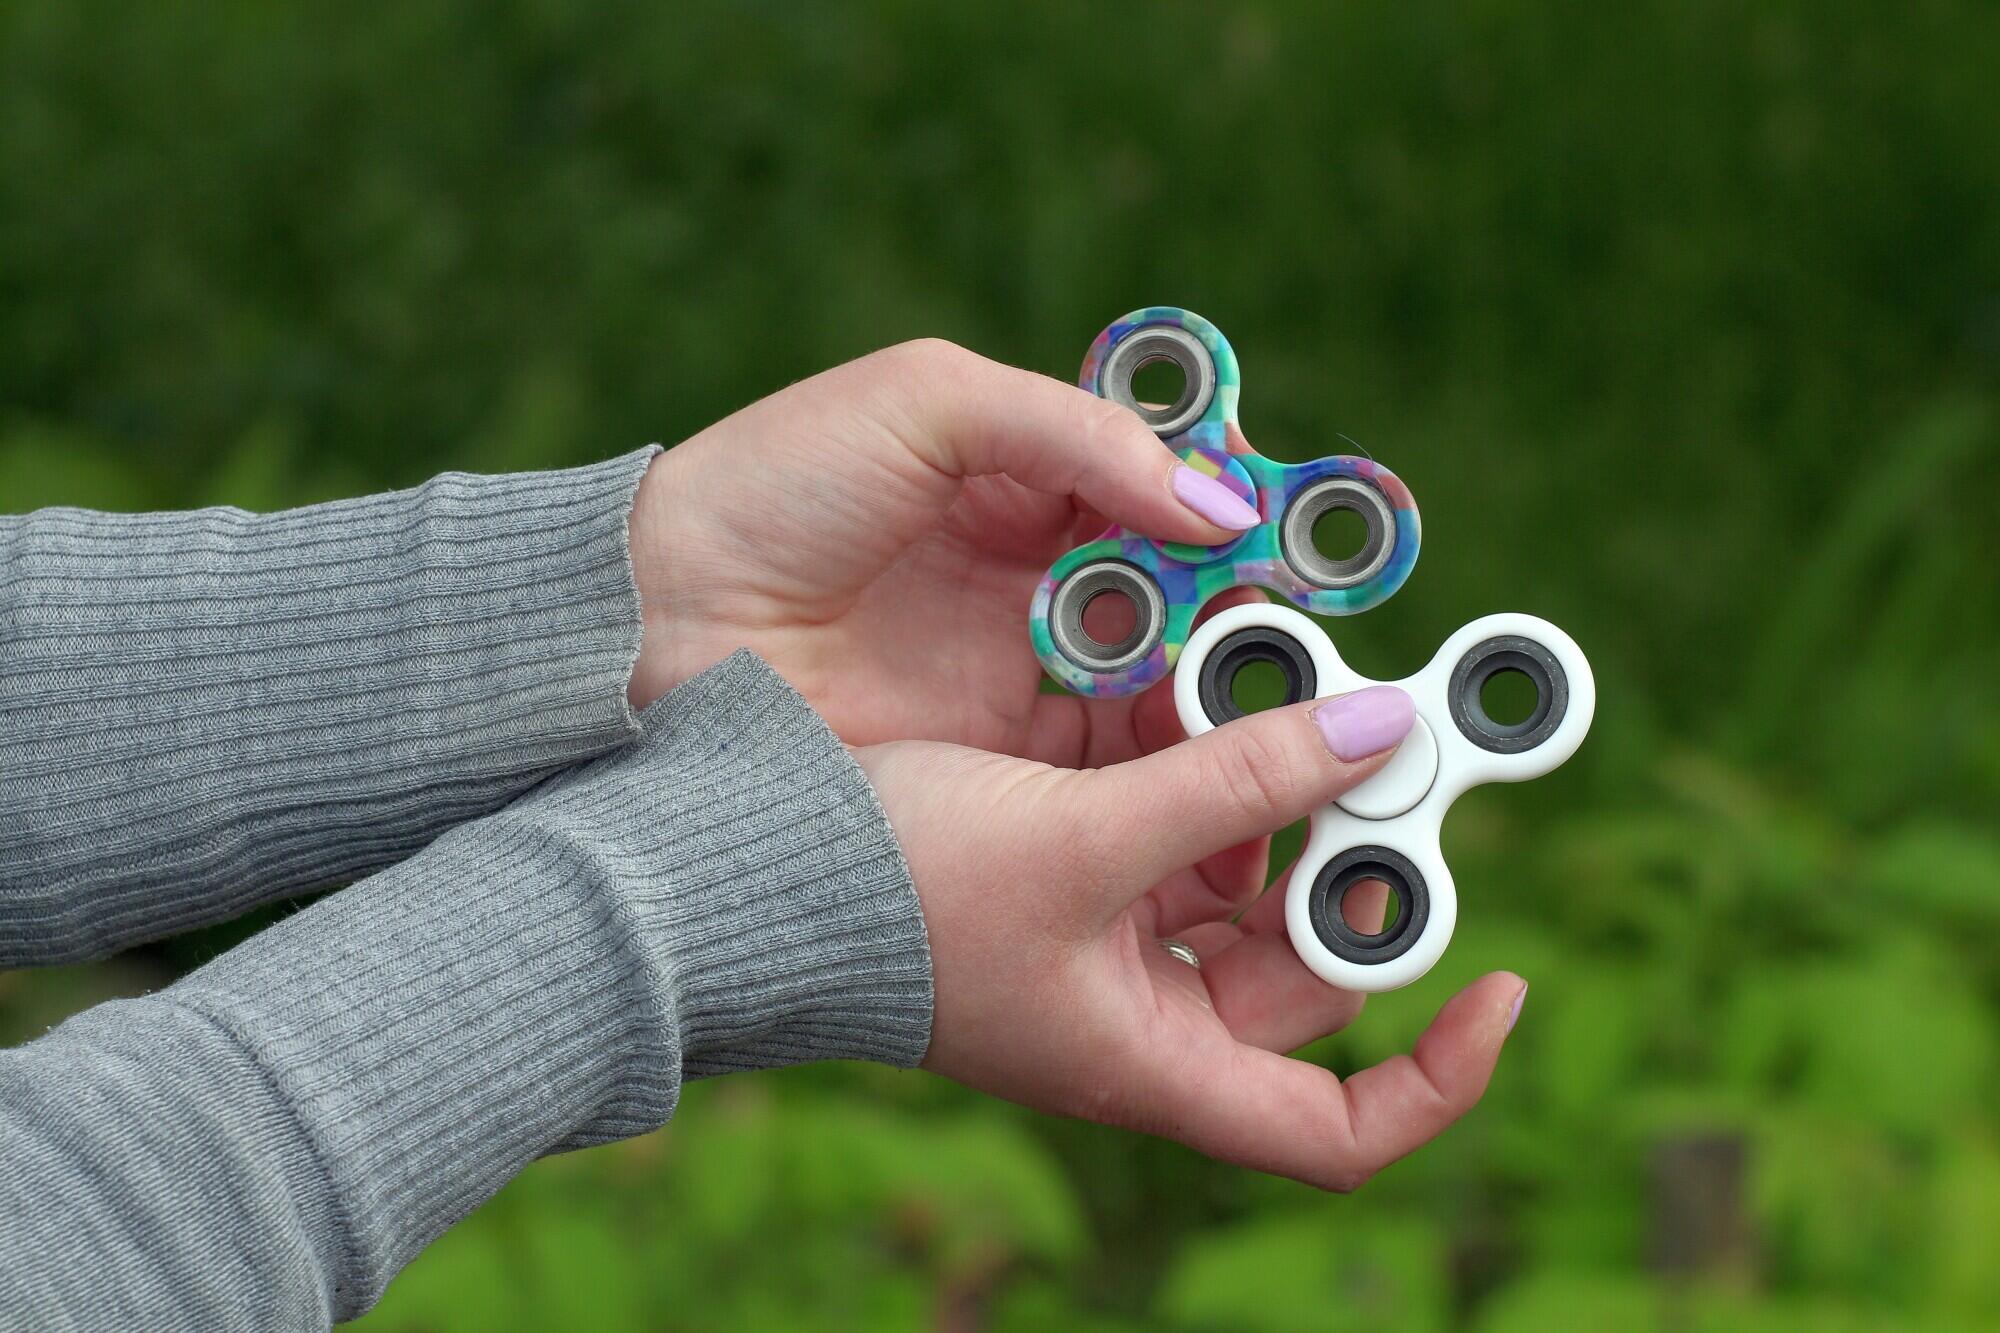
Fidget Toys
Recently, fidget toys have become popular because they help people feel better and less stressed. High-quality metal fidget toys, like spinners and cubes, are smooth and heavy, giving a really nice experience.
These toys are great for people with autism and sensory processing disorders. They offer a relaxing and fun way to stay engaged.
The Benefits of Precision Metal Toys
You’ll love precision metal toys for more than just how great they look and how well they’re made. They also offer some amazing advantages that make them a smart choice.
Durability
One of the standout features of precision metal toys is their durability. Unlike plastic toys that can easily break or wear out, metal toys are built to last. This longevity ensures that these toys can be enjoyed for generations, becoming cherished heirlooms.
Sensory Engagement
Precision metal autism and sensory toys provide a tactile and sensory-rich experience. The weight, texture, and movement of these toys engage multiple senses, making them particularly appealing to individuals seeking sensory stimulation. This includes children with autism and sensory processing disorders, who can benefit from the calming and engaging nature of these toys.
Educational Value
The intricate designs and mechanical movements of precision metal toys can spark curiosity and learning. Children and adults alike can gain insights into engineering, physics, and design by exploring the inner workings of these toys. This educational aspect adds an extra layer of value to the overall experience.
Nostalgia and Collectibility
For many, precision metal toys evoke a sense of nostalgia, reminding them of simpler times and cherished memories. This nostalgic appeal makes these toys highly collectible, with enthusiasts seeking out vintage and rare pieces to add to their collections.
The Future of Precision Metal Toys
As technology continues to advance, the future of precision metal toys looks promising. Innovations in manufacturing techniques, such as 3D printing and laser cutting, are opening new possibilities for creating even more intricate and detailed designs. Additionally, the growing interest in sustainable and eco-friendly products is driving manufacturers to explore alternative materials and production methods.
The integration of smart technology is another exciting development. Imagine a precision metal robot that can be programmed and controlled via a smartphone app, combining the charm of traditional toys with the capabilities of modern technology. Such innovations have the potential to redefine the way we interact with and appreciate precision metal toys.
Start Collecting Precision Metal Toys Today
Precision metal toys still mesmerize us with their amazing details and classic style. They’re built to last, fun to play with and teach us something new. Plus, they bring back happy memories.
As we move forward, new tech and eco-friendly ideas will make these toys even better. They offer a mix of art, clever design, and history that families can enjoy for years. They are for collectors, fans, and anyone looking for something special.
Discover more engaging content by exploring the myriad of topics covered on our blog. Happy reading!
Brick Veneer Flooring vs Traditional Brick: Which Is Right for You?
Posted on June 06, 2024 by Logo Design Tips and Tricks

Choosing the right type of flooring can be challenging, especially with so many options available. Among the choices are brick veneer flooring and traditional brick flooring.
Both offer unique benefits and aesthetics, but which one is right for you?
Let’s explore the differences, advantages, and potential drawbacks of each to help you make an informed decision.
What is Brick Veneer Flooring?
Brick veneer flooring is made from thin brick for floors, usually about half an inch to an inch thick. These slices are adhered to a substrate, which can be concrete, wood, or another type of flooring material. The result is a floor that looks like it’s made of full bricks but is much lighter and easier to install.
What is Traditional Brick Flooring?
Traditional brick flooring involves using full-sized bricks, typically laid on a bed of mortar or sand. This type of flooring is more robust and durable, often used in areas with heavy foot traffic or where a rustic, solid appearance is desired.
Brick Veneer Flooring Installation
Installing brick veneer flooring is generally easier and less time-consuming than installing traditional brick flooring. Here’s a step-by-step overview of the process:
Preparation
The existing floor must be clean, dry, and level. Any debris or uneven surfaces need to be addressed.
Layout
Plan the layout to ensure the bricks fit properly. This might involve cutting some of the veneer pieces to fit around edges and corners.
Adhesive Application
Apply a thin layer of adhesive to the substrate.
Placement
Place the brick veneers on the adhesive, pressing them down firmly.
Grouting
Once the adhesive has been set, apply grout between the bricks to fill in the gaps.
Sealing
After the grout has dried, seal the floor to protect it from moisture and stains.
Traditional Brick Flooring Installation
Installing traditional brick flooring is more labor-intensive and requires more materials. The process typically includes the following steps.
Preparation
Similar to brick veneer, the existing floor must be clean, dry, and level.
Mortar Bed
Spread a layer of mortar over the floor to act as a base for the bricks.
Brick Placement
Lay the full-sized bricks on the mortar bed, ensuring they are level and evenly spaced.
Grouting
Apply grout between the bricks once they are in place.
Sealing
Seal the bricks to protect them from moisture and stains.
Durability and Maintenance
Here’s a maintenance and durability comparison for both types of brick flooring.
Brick Veneer Flooring
Brick veneer flooring is durable and can withstand moderate foot traffic. However, it is not as strong as traditional brick flooring. Maintenance involves regular sweeping and occasional mopping. Sealing the floor periodically helps protect it from stains and moisture damage.
Traditional Brick Flooring
Traditional brick flooring is extremely durable and can handle heavy foot traffic, making it ideal for commercial spaces or high-traffic areas in homes. Maintenance is similar to brick veneer but may require more frequent sealing, especially in high-moisture areas.
Cost Comparison
Here’s a comparison of the average costs for both types of brick flooring.
Brick Veneer Flooring
Brick veneer flooring is generally less expensive than traditional brick flooring. The materials cost less, and the installation process is quicker and requires fewer materials, reducing labor costs.
On average, brick veneer flooring can cost anywhere from $6 to $12 per square foot.
Traditional Brick Flooring
Traditional brick flooring is more costly due to the price of full-sized bricks and the more labor-intensive installation process. However, its durability can make it a cost-effective choice in the long run, especially for high-traffic areas.
The average cost for traditional brick flooring ranges from $10 to $20 per square foot.
Aesthetic Appeal
Brick Veneer Flooring
Brick veneer flooring offers a similar aesthetic to traditional brick flooring but with more flexibility in design. Since the veneer pieces are thinner, they can be used in more applications and combined with other materials more easily.
This type of flooring is perfect for achieving a rustic or industrial look without the weight and bulk of traditional bricks. They are versatile and can be used in a variety of applications, including:
- kitchens, living rooms, and hallways
- restaurants, cafes, and retail stores
- accent Walls
Traditional Brick Flooring
Traditional brick flooring provides a classic, solid appearance that is hard to replicate with other materials. The full-sized bricks give a sense of permanence and durability.
This flooring is ideal for creating a timeless, robust look, particularly in outdoor spaces. It is best suited for:
- patios, walkways, and garden paths
- entryways, foyers, and commercial spaces
- kitchens, mudrooms, and basements
Environmental Impact
Brick Veneer Flooring
Brick veneer flooring uses fewer materials than traditional brick flooring, which can make it a more environmentally friendly option. The manufacturing process for veneers is also less energy-intensive, and there is less waste associated with the installation process.
Traditional Brick Flooring
Traditional brick flooring requires more materials and energy to produce and install. However, bricks are made from natural materials and can be recycled or repurposed, which helps mitigate some of the environmental impacts. The long lifespan of traditional brick flooring also means it won’t need to be replaced as frequently as other types of flooring, reducing waste over time.
Which One is Right for You?
Choosing between brick veneer flooring and traditional brick flooring depends on your specific needs, budget, and design preferences. Here are some considerations to help you decide.
Choose brick veneer flooring if you are looking for a cost-effective option or a quick and easy installation process.
On the other hand, choose traditional brick flooring if you are looking for durability and longevity. Ensure you are willing to invest more in a timeless, classic look.
Making Your Choice: Brick Veneer Flooring vs Traditional Brick
Both brick veneer flooring and traditional brick flooring offer unique benefits and can enhance the beauty and functionality of your space. By considering factors such as installation, cost, durability, maintenance, and aesthetic appeal, you can determine which option is best suited to your needs.
Whether you choose the lightweight, versatile brick veneer or the timeless, durable traditional brick, both options can add warmth and character to your home or commercial space.
For more on this topic, feel free to visit the rest of our blog!
Elevate Your Branding Strategy with Unique Logo Business Cards
Posted on June 04, 2024 by Logo Design Tips and Tricks

Looking to elevate your branding strategy? Unique logo business cards might be the perfect solution. They’re small, impactful, and speak volumes about your brand without saying a word.
Whether you’re a startup or an established business, having a distinctive and memorable logo on your business cards can set you apart from the competition. Let’s dive into how these little cards can make a big impression.
Invest in Professional Design
Investing in professional design for your business cards can truly pay off. A skilled designer knows how to create a clean, attractive, and compelling look that captures your brand’s essence. With expert design, every element on your business card-from the logo to the font-works together to leave a lasting impression.
A well-designed card signals that you care about quality and details, which can positively influence potential clients or partners. For inspiration, you can check out more business card design from this collection. Remember, a little investment in professional design can elevate your brand’s image significantly.
Choose High-Quality Materials
When it comes to custom business cards, the materials you choose are just as important as the design. High-quality materials can make a strong first impression and reflect the professionalism of your brand. Opt for sturdy cardstock or even premium options like linen or recycled paper to give your cards a luxurious feel.
The texture and weight of the card can convey reliability and attention to detail, setting your custom business cards apart from the rest. Don’t forget to consider finishes like matte, glossy, or even embossing for an added touch of elegance. Choosing the right materials ensures that your custom business cards not only look good but also stand the test of time.
Incorporate Key Information
When you design your logo business cards, make sure to add important details that people need. Start with your name and job title so they know who they are talking to. Include your phone number and email address so they can reach you easily. It’s also good to put your company name and logo to make your brand clear.
You might also want to add your website and social media handles so they can find out more about you online. Doing this helps in business card printing because everything important is on one small card. This way, people won’t forget you and can contact you anytime.
Use Color Wisely
Using color wisely on your business cards can make a big difference. Start by picking colors that match your brand. You don’t need to use every color; sometimes, two or three colors work best. Make sure the colors you choose make the text easy to read. Bright colors can grab attention, but they’re best used for accents, not the main text.
If you use your brand’s colors, it helps people recognize you. Keep it simple and avoid too many different colors. This will help your business cards look neat and professional.
Learn All About Logo Business Cards
So, to wrap it up, having unique logo business cards can really make your brand stand out. They show off your professionalism and attention to detail. By investing in good design and choosing quality materials, you create a lasting impression.
Adding key information makes them practical, and using color wisely makes them attractive. In short, logo business cards are small but powerful tools for your branding strategy.
Did you find this article helpful? Check out the rest of our blog.